ClickHouse on Kubernetes
ClickHouse has been both exciting and incredibly challenging based on my experience migrating and scaling from Iceberg to ClickHouse, zero to a large cluster of trillions of rows. I have had to deal with many of use cases and resolve issues such as table corruption, excessive data parts, slow start-up times, converting tables from ReplacingMergeTree to ReplicatedReplacingMergeTree, managing clickhouse-keeper, etc.
I have been trying to take notes every day for myself, although it takes time to publish them as a series of blog posts. I hope I can do so on this ClickHouse on Kubernetes series.
There are many ways to deploy ClickHouse on Kubernetes. You can install it using the Bitnami ClickHouse Helm Chart or the Altinity Kubernetes Operator. I have experience with both of them and found that the most effective way is to use the ClickHouse Operator from Altinity. With this operator, you can manage multiple clusters and configure users, profiles, or even customize the Pods using a CRD.

1. clickhouse-operator
You can install the clickhouse operator) via apply directly clickhouse-operator-install-bundle.yaml but I recommend install it via helm so you can its config if needed.
helm repo add clickhouse-operator https://docs.altinity.com/clickhouse-operator
helm upgrade --install --create-namespace \
    --namespace clickhouse \
    clickhouse-operator \
    clickhouse-operator/altinity-clickhouse-operator
Operator is deployed in clickhouse namespace:
kubectl get pods -n clickhouse

NAME                                   READY   STATUS    RESTARTS   AGE
clickhouse-operator-5c46dfc7bd-7cz5l   1/1     Running   0          3s
The clickhouse-operator is now ready. Looking at https://github.com/Altinity/clickhouse-operator/tree/master/deploy/helm/ and Operator Configuration for more details.
2. Deploy first single node clickhouse
Create the clickhouse-single.yaml file and apply it to your Kubernetes. There are many configuration options, so you may need to refer to their example repository (chi-examples) to customize things. I will create a very basic ClickHouse node and explain more later below or in different posts.
# File: clickhouse-single.yaml
---
apiVersion: clickhouse.altinity.com/v1
kind: ClickHouseInstallation
metadata:
  name: single
  namespace: clickhouse
spec:
  configuration:
    clusters:
      - name: clickhouse
    users:
      # printf 'duyet-password' | sha256sum
      duyet/password_sha256_hex: ea3e0ba4c196be92523629d14b345d054588f5df9cfb338369e6a15a3b562fa9
      # or plaintext
      duyet/password: 'duyet-password'
      duyet/networks/ip:
        - 0.0.0.0/0
Apply:
$ kubectl apply -f 01-single.yaml
clickhouseinstallation.clickhouse.altinity.com/single created

$ kubectl get clickhouseinstallation -n clickhouse
NAME      CLUSTERS   HOSTS   STATUS      HOSTS-COMPLETED   AGE
single    1          1       Completed                     35s
Checking if the pods and services is ready:
$ kubectl get po -n clickhouse
NAME                          READY   STATUS   RESTARTS  AGE
chi-single-clickhouse-0-0-0   1/1     Running  0         66s
ClickHouse Operator also create Services point to your single pod:
$ kubectl get svc -n clickhouse

NAME                        TYPE           CLUSTER-IP       EXTERNAL-IP   PORT(S)                         AGE
clickhouse-single           LoadBalancer   10.152.183.156   <pending>     8123:32286/TCP,9000:30767/TCP   3m45s
chi-single-clickhouse-0-0   ClusterIP      None             <none>        9000/TCP,8123/TCP,9009/TCP      3m47s
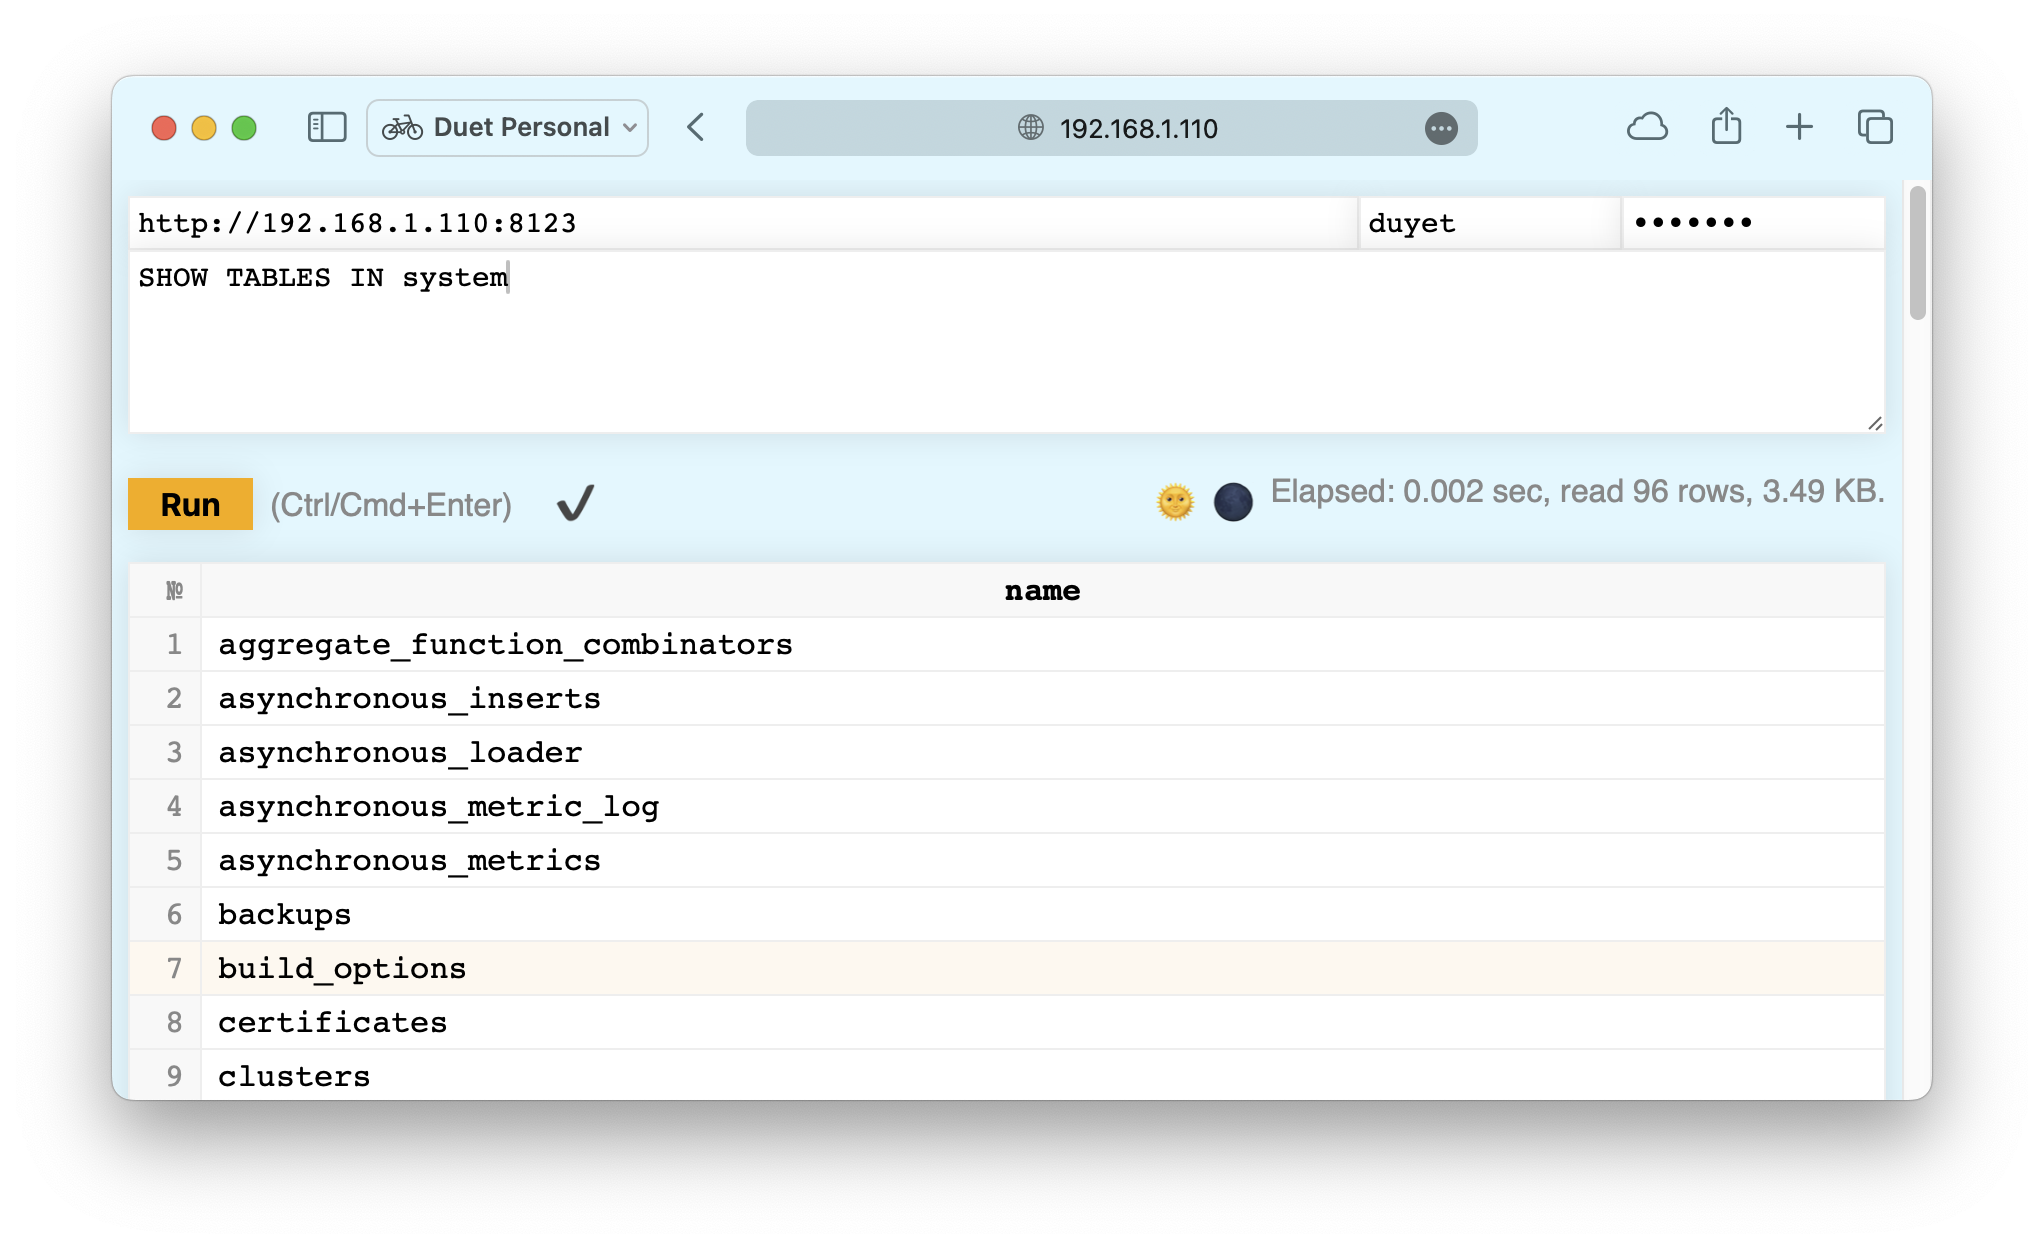
You can access your first ClickHouse via port-forward:
- 8123, using for access via HTTP and JDBC, for example access playground: http://localhost:8123/play
- 9000, native port, using for
clickhouse-clientcommand line
$ kubectl port-forward svc/clickhouse-single 8123 -n clickhouse
To query via command line, install the clickhouse via
curl https://clickhouse.com/ | sh
Then
clickhouse client --host localhost --port 8123 --user duyet

Internal Kubernetes apps can also access via Services name.
Check out the example 01-single.yaml
2.1. Customize ClickHouse version
Define a podTemplate with your specific container image and tag:
# File: clickhouse-single.yaml
---
apiVersion: clickhouse.altinity.com/v1
kind: ClickHouseInstallation
metadata:
  name: single
  namespace: clickhouse
spec:
  defaults:
    templates:
      podTemplate: clickhouse:24.1

  configuration:
    clusters:
      - name: clickhouse

  users:
    duyet/password_sha256_hex: ea3e0ba4c196be92523629d14b345d054588f5df9cfb338369e6a15a3b562fa9
    duyet/networks/ip:
      - 0.0.0.0/0

  templates:
    podTemplates:
      - name: clickhouse:24.1
        spec:
          containers:
            - name: clickhouse
              image: clickhouse/clickhouse-server:24.1
Check out the example 02-single-custom-version.yaml
2.2. Persistent Volume
The simple spec above do not have PVC so data will be deleted on each restart!. You can define the volumeClaimTemplates for data and/or logs. Depends on your Kubernetes cluster and Cloud Provider, you can even specify the storageClass or accessModes.
# File: clickhouse-single.yaml
---
apiVersion: clickhouse.altinity.com/v1
kind: ClickHouseInstallation
metadata:
  name: single
  namespace: clickhouse
spec:
  defaults:
    templates:
      podTemplate: clickhouse:24.1
      dataVolumeClaimTemplate: data-volume-template
      logVolumeClaimTemplate: log-volume-template

  configuration:
    clusters:
      - name: clickhouse

    users:
      duyet/password_sha256_hex: ea3e0ba4c196be92523629d14b345d054588f5df9cfb338369e6a15a3b562fa9
      duyet/networks/ip:
        - 0.0.0.0/0

  templates:
    podTemplates:
      - name: clickhouse:24.1
        spec:
          containers:
            - name: clickhouse
              image: clickhouse/clickhouse-server:24.1

    volumeClaimTemplates:
      - name: data-volume-template
        spec:
          accessModes:
            - ReadWriteOnce
          resources:
            requests:
              storage: 100Gi
      - name: log-volume-template
        spec:
          accessModes:
            - ReadWriteOnce
          resources:
            requests:
              storage: 100Mi
Applying again clickhouse-operator will create two new PVCs and attach it into your pod.

Check out the example 03-with-pvc.yaml
2.3. Store User Password in separated Secrets
You can store the password in separate Secrets for easier management or version it in your own way. Check the example manifest here and here.
---
apiVersion: v1
kind: Secret
metadata:
  name: clickhouse-password
type: Opaque
stringData:
  duyet_password: password
  duyet_password_sha256_hex: 65e84be33532fb784c48129675f9eff3a682b27168c0ea744b2cf58ee02337c5
  duyet_password_double_sha1_hex: c5bf7884d77d2294924d6dedcb60222f2730ff04
---
apiVersion: clickhouse.altinity.com/v1
kind: ClickHouseInstallation
metadata:
  name: single
  namespace: clickhouse
spec:
  configuration:
    clusters:
      - name: clickhouse

    users:
      # Directly
      duyet_1/password_sha256_hex: ea3e0ba4c196be92523629d14b345d054588f5df9cfb338369e6a15a3b562fa9

      # Ref from secrets
      duyet_2/k8s_secret_password: clickhouse-password/duyet_password
      duyet_3/k8s_secret_password_sha256_hex: clickhouse-password/duyet_password_sha256_hex
      duyet_4/password_double_sha1_hex:
        valueFrom:
          secretKeyRef:
            name: clickhouse-password
            key: duyet_password_double_sha1_hex
Summary and Next Steps
Congratulations! You've successfully deployed your first ClickHouse instance on Kubernetes using the ClickHouse Operator. Let's recap what you've learned and what comes next:
What You've Accomplished:
- ✅ Installed ClickHouse Operator using Helm
- ✅ Deployed a single-node ClickHouse instance
- ✅ Configured custom ClickHouse versions using podTemplates
- ✅ Set up persistent storage with PVCs
- ✅ Managed user authentication with password hashing and Kubernetes Secrets
- ✅ Accessed ClickHouse via HTTP (port 8123) and native protocol (port 9000)
Key Concepts to Remember:
- The ClickHouse Operator uses Custom Resource Definitions (CRDs) called
ClickHouseInstallation - Always use persistent volumes in production to prevent data loss
- Store sensitive credentials in Kubernetes Secrets, not in plain YAML files
- Use SHA256 hashing for passwords (
printf 'password' | sha256sum) - The operator creates services automatically for load balancing and pod access
Production Considerations:
- This single-node setup is great for development and testing
- For production, you'll need:
- Replication: Multiple replicas for high availability
- Sharding: Distribute data across multiple nodes for scalability
- ClickHouse Keeper: For coordination in replicated setups
- Monitoring: Track performance and health metrics
- Backup Strategy: Regular backups to prevent data loss
What's Next in This Series:
- ReplicatedReplacingMergeTree - Setting up data replication
- ClickHouse Monitoring - Observability and monitoring strategies
- Advanced topics: Table optimization, query performance, cluster management
ClickHouse is incredibly performant but requires careful attention to table design, data modeling, and cluster configuration. The challenges you'll face—like managing data parts, optimizing merges, and handling replication—are all solvable with the right knowledge and tools.
Resources:
- 📚 All example manifests: https://github.com/duyet/clickhouse-on-kubernetes-examples
- 📖 Official ClickHouse Docs: https://clickhouse.com/docs
- 🛠️ ClickHouse Operator: https://github.com/Altinity/clickhouse-operator
- 💬 Join the community: ClickHouse Slack
Keep exploring, and remember: every challenge is an opportunity to learn more about this powerful database system!
Thank you for reading. Feel free to reach out with questions or share your own experiences with ClickHouse on Kubernetes.
Series: ClickHouse on Kubernetes
Complete guide to deploying ClickHouse on Kubernetes using the Altinity ClickHouse Operator. Learn how to set up your first single-node cluster, configure persistent storage, manage users, and customize ClickHouse versions. Includes practical examples and best practices from production experience managing clusters with trillions of rows.
Dynamic column selection (also known as a `COLUMNS` expression) allows you to match some columns in a result with a re2 regular expression.
Complete guide to monitoring ClickHouse on Kubernetes. Learn about built-in dashboards, Prometheus + Grafana setup, powerful system tables for monitoring queries, and the ClickHouse Monitoring UI dashboard. Includes practical examples, essential monitoring queries, and best practices for production observability.
After starting this series ClickHouse on Kubernetes, you can now configure your first single-node ClickHouse server. Let's dive into creating your first table and understanding the basic concepts behind the ClickHouse engine, its data storage, and some cool features
My favorite ClickHouse table engine is `ReplacingMergeTree`. The main reason is that it is similar to `MergeTree` but can automatically deduplicate based on columns in the `ORDER BY` clause, which is very useful.
Learn how to set up and manage ReplicatedReplacingMergeTree in ClickHouse on Kubernetes. This comprehensive guide covers cluster setup with ClickHouse Operator, data replication, performance tuning, and best practices for high availability deployments.
Related Posts
ReplicatedReplacingMergeTree
Learn how to set up and manage ReplicatedReplacingMergeTree in ClickHouse on Kubernetes. This comprehensive guide covers cluster setup with ClickHouse Operator, data replication, performance tuning, and best practices for high availability deployments.
ReplacingMergeTree
My favorite ClickHouse table engine is `ReplacingMergeTree`. The main reason is that it is similar to `MergeTree` but can automatically deduplicate based on columns in the `ORDER BY` clause, which is very useful.
MergeTree
After starting this series ClickHouse on Kubernetes, you can now configure your first single-node ClickHouse server. Let's dive into creating your first table and understanding the basic concepts behind the ClickHouse engine, its data storage, and some cool features
Monitoring ClickHouse on Kubernetes
Complete guide to monitoring ClickHouse on Kubernetes. Learn about built-in dashboards, Prometheus + Grafana setup, powerful system tables for monitoring queries, and the ClickHouse Monitoring UI dashboard. Includes practical examples, essential monitoring queries, and best practices for production observability.